
After seeing some awesome looking DIY lightbox posters over on avsforum I decided to make something similar, the information on avsforum is mostly from people from the US so hopefully this will help some people in the UK on where to source materials.
I didn’t go for a full poster size one as that would have required 3 x 5M LED strips and was bigger than I wanted to make it, so instead I based my size around using a single strip and ended up deciding on making my image 1100mm x 230mm.
The Doctor Who Image

We are both fans of Doctor Who so I decided to base my image on that, you can download the final image here. I was going to upload the PSD but that is 581mb so you will have to make do with the 10mb jpg instead.
As I had decided on 1100mm x 230mm this meant that at 300DPI the image would need to be 12992px x 2717px which did present a problem finding images that were big enough, however, after a lot of google image searching I did find 2 images.
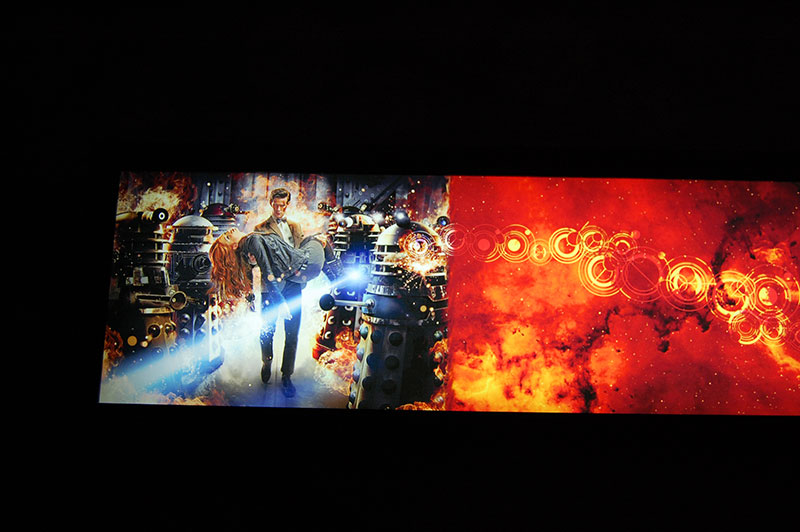
Even these 2 images only managed to cover a small area, so I decided to have these on either side of the image and try and find a random nebula image to fill in the middle, again, after a long time searching google images I found something suitable.
I then blended where the images met, downloaded a Gallifreyan font which I used to add the symbols and added a tardis to the image.
When I had a final image I was happy with I had to find somewhere to get it printed, after a lot of searching and comparing I eventually got the image printed at supersizeprint which offers a medium that is similar to duratrans, while at very very close range and with a very bright light source behind it there are faint horizontal lines visible, the image looks fantastic.
The Construction
List of items
- 5a DC power supply
- 2 core electrical cable
- Soldering Iron
- Solder
- Hot glue gun
The first thing I did was order all the parts I needed, I spoke to Mark from Frames Express and he was very helpful in selecting the frame, I said I didn’t need the lining bits, however, I should have had them as I ended up having to get some strips from B&Q to do the same job, lesson learned, I also had the frame with glass rather than plastic.
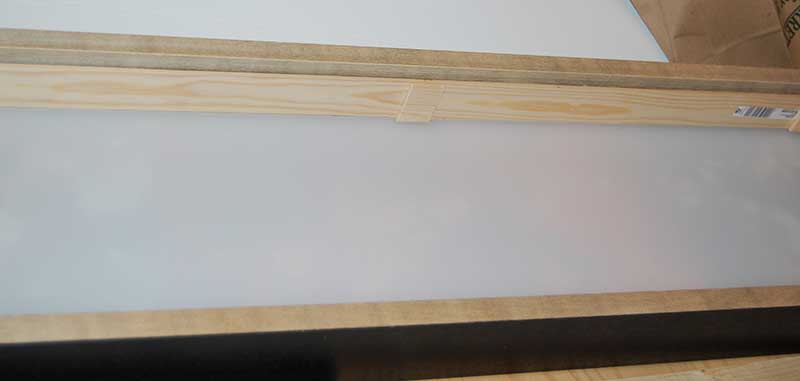
I then put the image in the boxframe with the image up against the glass, next I put in the acrylic to act as a diffusor which I had trentplastics cut to size for me, then I hot glued in the wooden liners, this keeps everything in place, if you were going to replace the image you could just screw these in, again, I should have used the ones supplied from pictureframesexpress.
The other purpose for the liners is to create a separation from the diffusor and the LED’s, without this gap you would see the individual LEDs coming through instead of a uniform backlight.
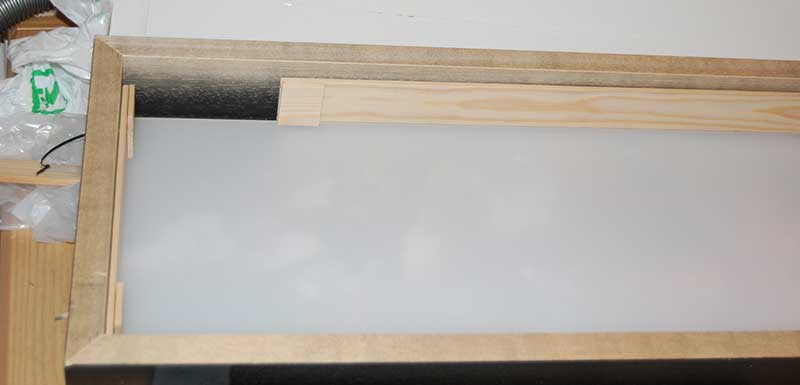
As you can see in the image they don’t go right to the back of the frame, and the hardboard is very thin, this is so I can bring the wires round to the back and so I can screw a piece of wood to the wall, place the box on it, then screw it down so you can’t see any mounting.
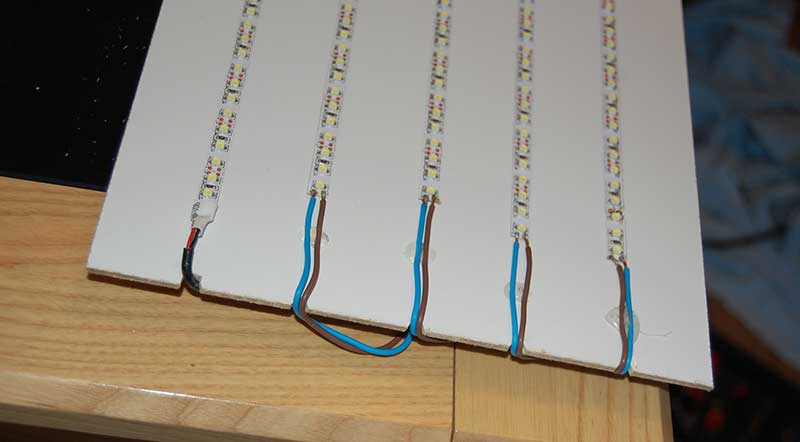
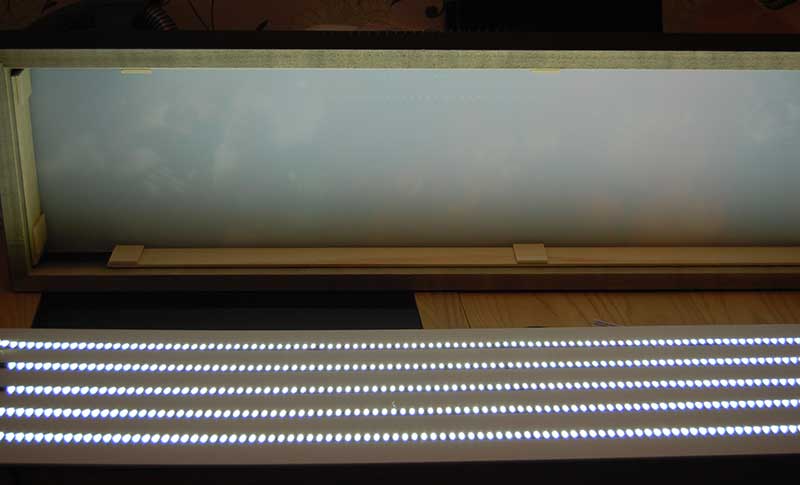
I had the white faced hardboard cut down to size at B&Q, this is what the LEDs are mounted on, I measured the midpoint and drew a line the length of it, I then drew the other 4 lines and used these lines as a guide for placing the LEDs, then I filed out grooves at the end of the runs for the wires to come out of.
I cut the LEDs into 1M strips (not as successfully as I hoped, I ended up with 1 strip being slightly longer and 1 being slightly shorter, but you cant tell in the final product), peeled the 3m backing off and stuck them to the board, with that complete I started soldering wires to the strips so that I could attach them all in parallel.
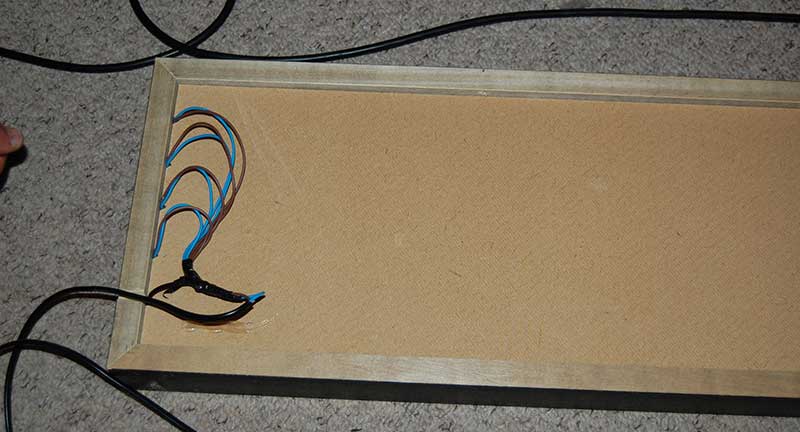
I then soldered them together on the backside and wrapped electrical tape to isolate the connections.
Then I attached the wires to the power supply and tested, the image below does not do justice to just how bright the LEDs are!
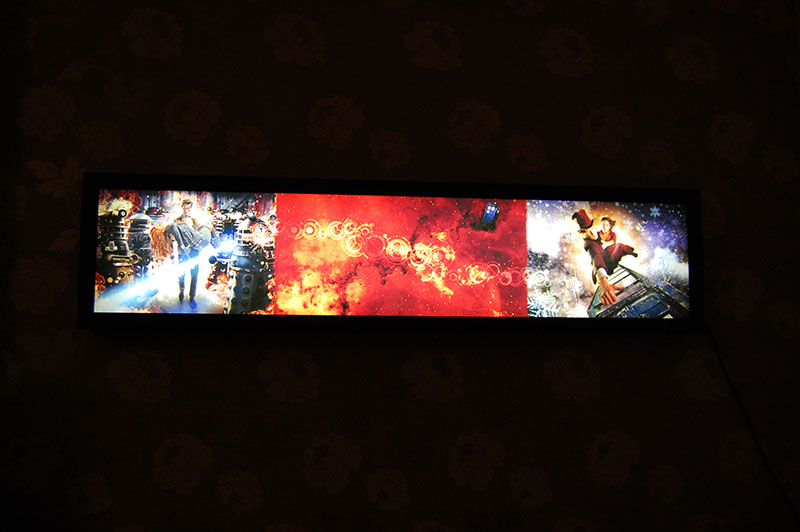
Next up was mounting to the wall and trying it out, check out the gallery below.
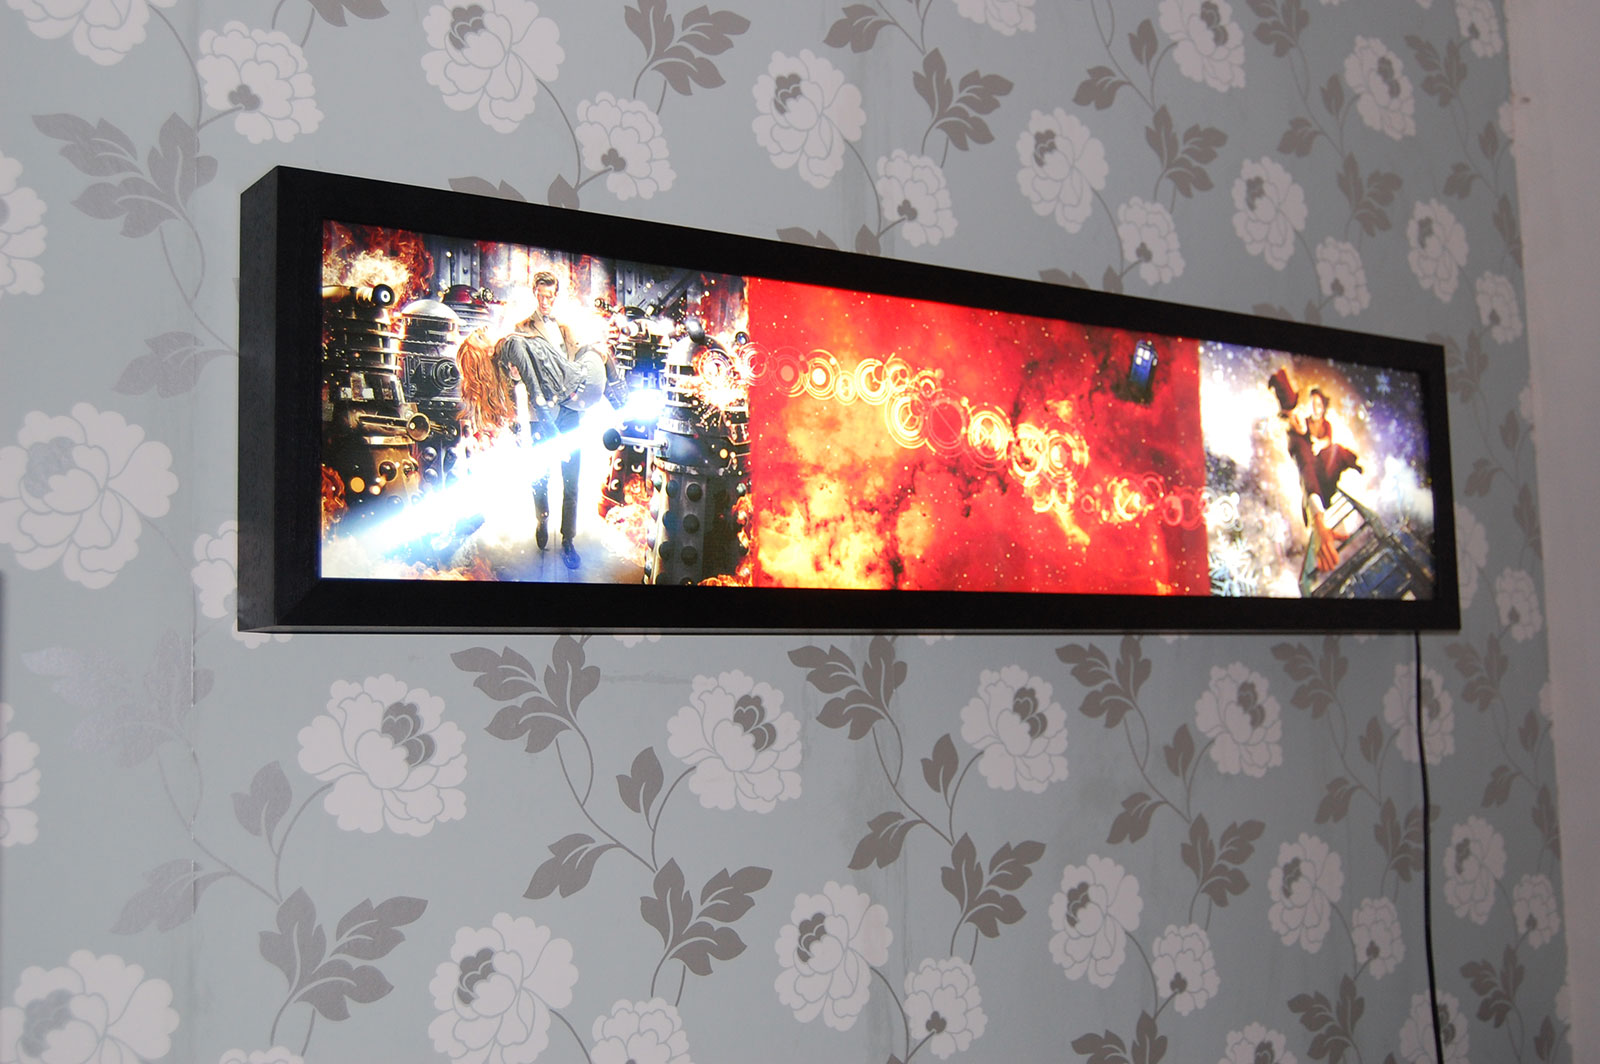


That looks awesome 🙂
Your Lightbox Poster has been approved! 😀
Unfortunately however, your wallpaper has been denied – please update it and resubmit.
😉
Nice 😀
I think I will try to make one myself, maybe start with something a little smaller, A3 perhaps.
Thanks for the info on where you sourced the parts 🙂
So jacktyler, you approved it with the typo? Or is it spelled “christoper”?
Nice!